HTML Cheatsheet
- Download HTML Cheatsheet (PDF)
- Star HTML Cheatsheet on Github
- Share HTML/CSS Cheatsheet Link: https://ilovecoding.org/blog/htmlcss-cheatsheet
CSS Cheatsheet
- Download CSS Cheatsheet (PDF)
- Star CSS Cheatsheet on Github
- Share HTML/CSS Cheatsheet Link: https://ilovecoding.org/blog/htmlcss-cheatsheet

Video Lesson Transcript
So far we were just understanding the basics. Now things are going to get easier, because now we only need to look at the different elements that we have. We will be covering 4 elements in this lesson, and then we will be looking at the rest.
From <h1> to <h6>
One of the very important elements in HTML is the <h1> all the way to <h6> elements. h1 stands for header one, so it's the main header for a page. For example if you are reading a book, the main title for that particular chapter, consider that to be <h1>, and a sub header could be an <h2>, and so on uptill <h6>. Say that I am writing an "about me" page:
<!DOCTYPE html>
<html lang="en">
  <head>
    <title>
      This is my first page
    </title>
  </head>
  <body>
    <h1>
    Hi my name is Aziz
    </h1>
    <p>
      Hi this is my first para
    </p>
    <p>
      this is the second para
    </p>
  </body>
</html>
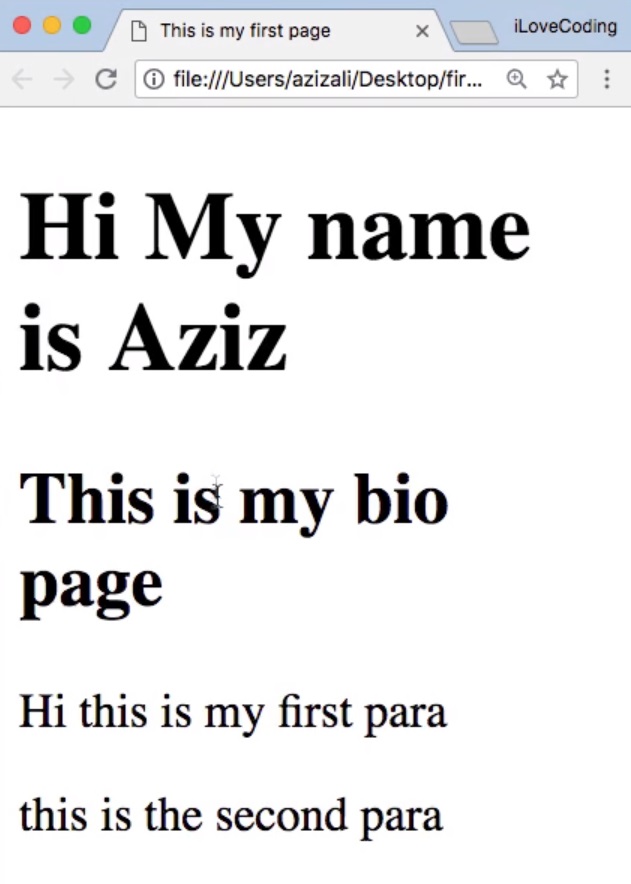
And as result:

By doing that, you can see automatically that just because I mentioned <h1>, it is a very big text.
Now if I want to write a sub-header, that's going to be <h2>. So we can simply put it under the <h1>.
<!DOCTYPE html>
<html lang="en">
  <head>
    <title>
      This is my first page
    </title>
  </head>
  <body>
    <h1>
    Hi my name is Aziz
    </h1>
    <h2>
    This is my bio page
    </h2>
    <p>
      Hi this is my first para
    </p>
    <p>
      this is the second para
    </p>
  </body>
</html>
And you can see that the <h2> text is slightly smaller, and I can do the same thing all the way from <h1> to <h6> which are valid tags in HTML.
I am gonna simply replicate this code, so for this you can do alt + shift + ↓ for duplicating the lines, so I can simply rename them.
There is another handy shortcut in Visual Studio Code. I can simply select some text and do command + D (Ctrl + D on Windows), and it's going to select both tag names for example. Let me show you what I mean:

This way I can simply edit both of them together, like such:

Pretty handy, right? And that's the beauty of a good text editor. Others are good as well: Sublime Text introduced, I believe, this particular shortcut, and Visual Studio Code has copied that.
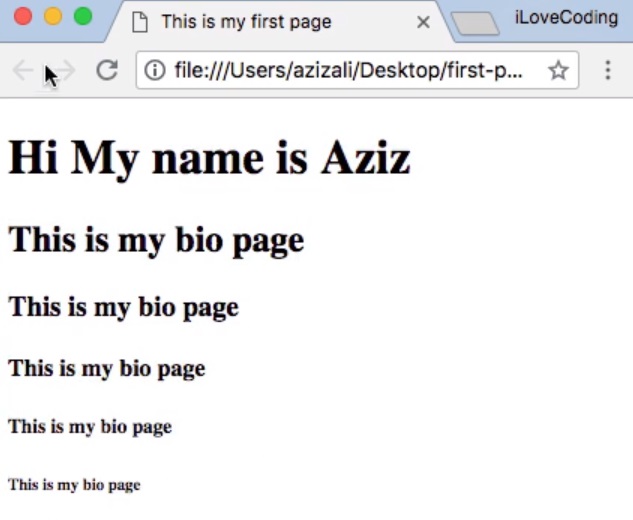
If you save and refresh, you will see all our headings from <h1> to <h6>. These are different tags, with different automatic formatting of the text and it's sizes.
That's very handy when you are writing multiple content, you can format them differently.
The <strong> and <i> elements
Next, let's see if you want to make your text italic or bold, you are going to use the <i> or the <strong> element.
Let's say that you have the following two paragraphs in your code:
<!DOCTYPE html>
<html lang="en">
  <head>
    <title>
      This is my first page
    </title>
  </head>
  <body>
    <h1>
      Hi my name is Aziz <
     /h1>
    <h2>
      This is my bio page
    </h2>
    <p>
      Hi this is my first para
    </p>
    <p>
      this is the <em>second</em> para
    </p>
  </body>
</html>
For this, we want to make the word "second" from the second paragraph italic.
So for this we simply put the word second inside the <i> element.
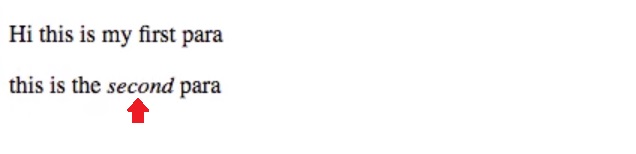
Save, refresh, and you will see that this is italic now.
If we want to make the word "first" from the first paragraph bold, we can simply wrap the <strong> element around it.
<p>
  Hi this is my <strong>first</strong> para
</p>
<p>
  this is the <i>second</i> para
</p>
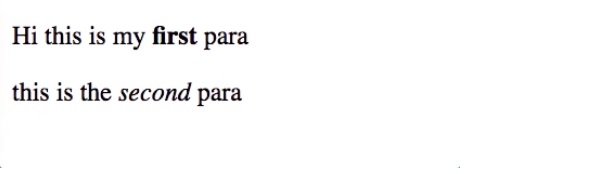
Save, refresh, and you will see that the word "first" is now bold.
Now if you want to make the word "this" italic and bold, you can use both of these elements.
<p>
  Hi <strong><i>this</i></strong> is my <strong>first</strong> para
</p>
<p>
  this is the <i>second</i> para
</p>
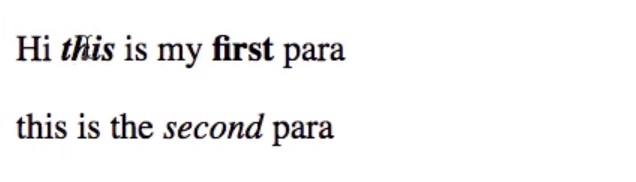
You can see that this is bold, and also italic. So notice the way I am doing this; the <strong> is the outer element, and inside there is a nested <i> element, and inside it we have the child for the <i>, which is the word "this".
This particular format that I am doing is very important. HTML is very hierarchical, so it's nested.
Of course one element can have multiple children, for example if I have some text like this:
<p>
  Hi <strong><i>this</i> something else </strong> is my <strong>first</strong> para
</p>
<p>
  this is the <i>second</i> para
</p>
you will notice that the "something else" is bold, but only the "this" is italic and bold.
It may be very difficult for you to read right now what code I wrote, that's why formatting the code comes in very handy, so I am just going to format this with the indent format.
<p>
  Hi
  <strong>
    <i>this</i>
    something else
  </strong> is my <strong>first</strong> para
</p>
<p>
  this is the <i>second</i> para
</p>
You see, now it's more obvious, so that's how you do it.
In the next lesson we are going to learn more about the <a>, <div>, and <span>elements. Now you already know about <h1> to <h6>, <p>, <i>, and <strong>.
I will talk to you in the next lesson.
Get Started
Already have an account? Please Login