HTML Cheatsheet
- Download HTML Cheatsheet (PDF)
- Star HTML Cheatsheet on Github
- Share HTML/CSS Cheatsheet Link: https://ilovecoding.org/blog/htmlcss-cheatsheet
CSS Cheatsheet
- Download CSS Cheatsheet (PDF)
- Star CSS Cheatsheet on Github
- Share HTML/CSS Cheatsheet Link: https://ilovecoding.org/blog/htmlcss-cheatsheet
The <div> Element
One of the most commonly used elements, is actually the <div> element.
The "div" element stands for "division", which basically means that you organize your different pieces of your HTML inside it's own container.
So "division" or <div> is simply a container, it's a generic container element. It has no special properties but one. Let's take a look at it right now.
So we are in our web page, and let's say I am making a web page for myself, and I want to organize this web page in different sections.
So let's say I have a section for my background, one for my professional life, and one section for my personal life and underneath each of these sections I may have multiple paragraphs, and some text about each of these sections.
<!DOCTYPE html>
<html lang="en">
  <head>
    <title>
      This is my first page
    </title>
  </head>
  <body>
    <h1>Hi My name is Aziz</h1>
    <h2>Background</h2>
    <p>sadjalsdjlkds</p>
    <p>skdjalsdkjasldj</p>
    <h2>Professional</h2>
    <p>sdjalsdjlkjds</p>
    <p>skdjalsdkjasldj</p>
    <h2>Personal</h2>
    <p>sdjalsdjlkjds</p>
    <p>skdjalsdkjasldj</p>
  </body>
</html>
When I save and refresh, I see this:
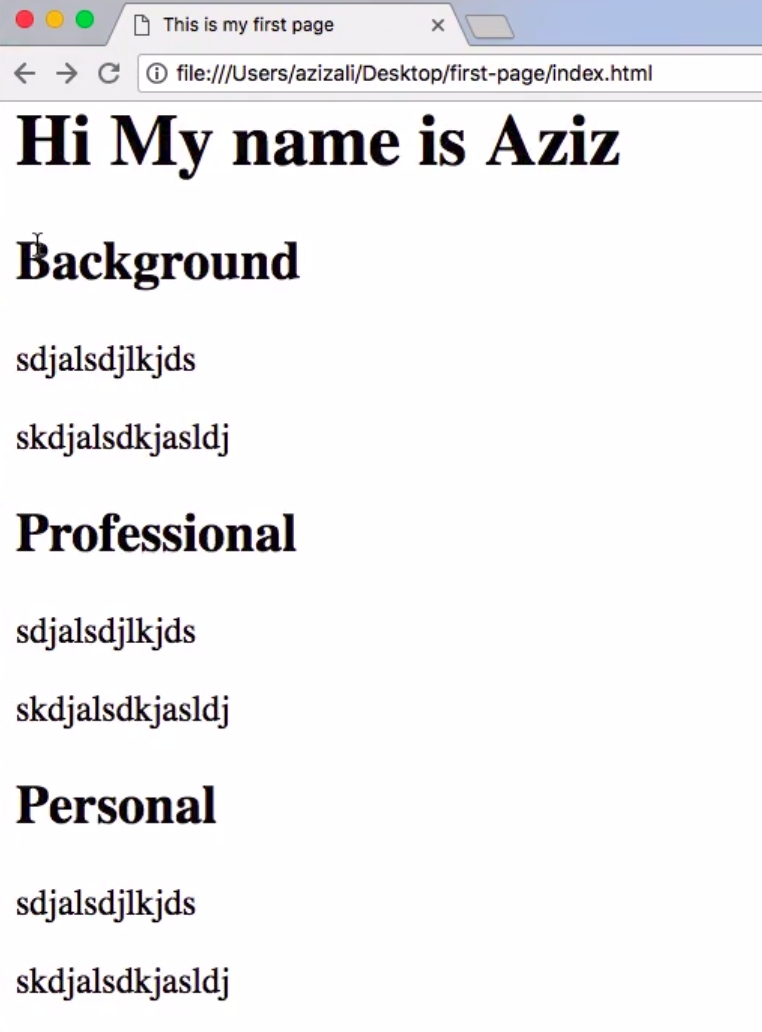
Now if you look at the code, the code is not easy to read. It's not organized, so we need to make organize each of these sections separately.
To do that, we are going to put each of sections inside their own <div> element, so here's how you do that. I am going to take the following code:
    <h2>Background</h2>
    <p>sadjalsdjlkds</p>
    <p>skdjalsdkjasldj</p>
The above section (the background and the paragraphs) and wrap it inside a <div> element. Like such:
    <div>
      <h2>Background</h2>
      <p>sadjalsdjlkds</p>
      <p>skdjalsdkjasldj</p>
    </div>
So now the two benefits are that it's easier to read because I know this is one section, and I am going to do the same thing over here for the second and third sections as well:
<!DOCTYPE html>
<html lang="en">
  <head>
    <title>
      This is my first page
    </title>
  </head>
  <body>
    <h1>Hi My name is Aziz</h1>

    <div>
      <h2>Background</h2>
      <p>sadjalsdjlkds</p>
      <p>skdjalsdkjasldj</p>
    </div>

    <div>
      <h2>Professional</h2>
      <p>sadjalsdjlkds</p>
      <p>skdjalsdkjasldj</p>
    </div>

    <div>
      <h2>Personal</h2>
      <p>sadjalsdjlkds</p>
      <p>skdjalsdkjasldj</p>
    </div>
  </body>
</html>
Each one of these are now individual sections.
The significance of organizing this in a section, is not for readability; it's actually when we get to the CSS section of our website or of this course, we are going to see that when we have these sections we can actually use the CSS techniques to actually have advanced layouts.
So if I save this and refresh, it's going to have no difference because <div> is a generic element, I have already told you it's just a generic container.
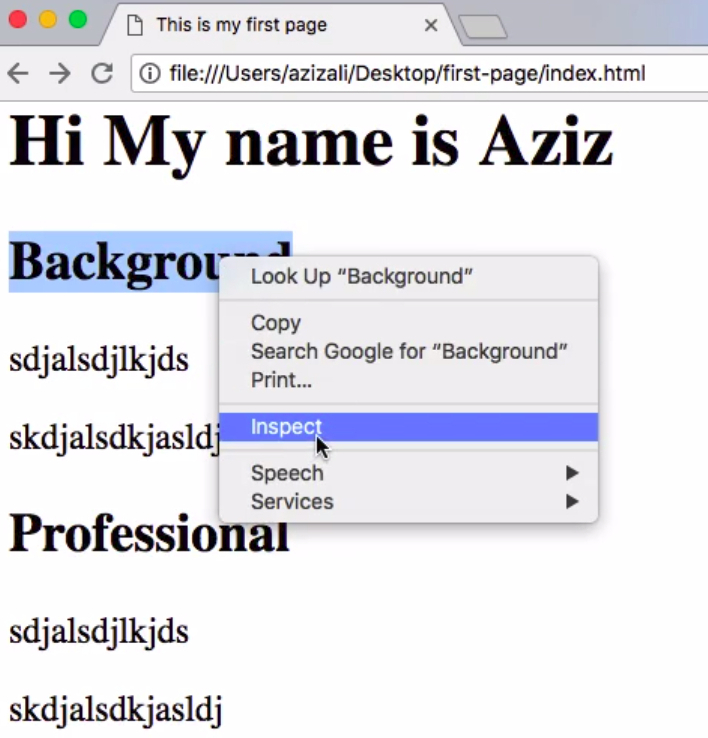
Just to show you what is happening in the background, when I am right-click on the word "Background" and click "Inspect", it's actually going to open the "Developer tools" and highlight this particular element (The element of the word "Background").
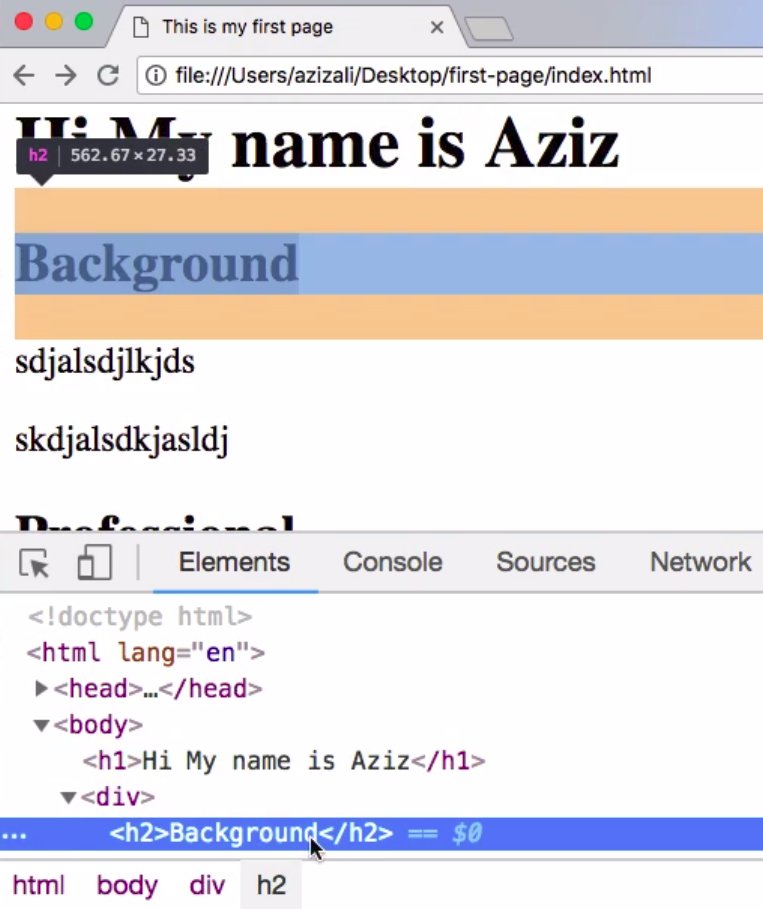
You will see the background element is highlighted, and all of it's different spacing has been highlighted as well when I hover right there.
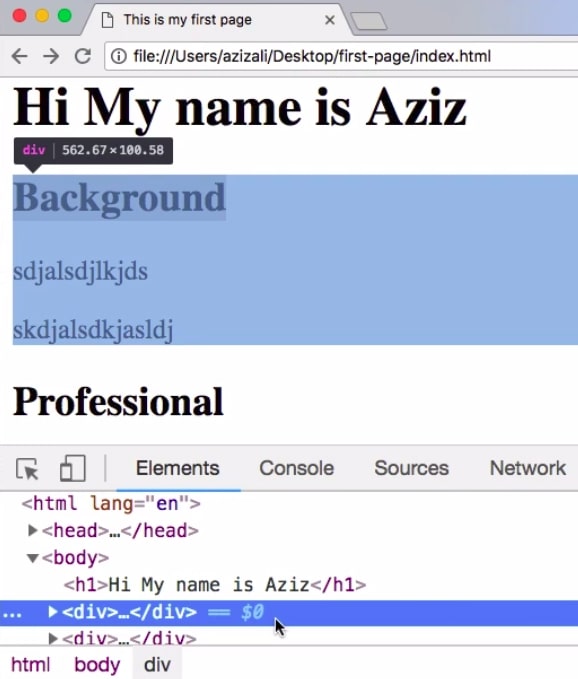
So if I click over here, you will see that this entire blue area is highlighted, because this div element has all of these three things inside.
The Special Property of <div>
Now one more thing, is that the special property of a div element, is that it takes up all the horizontal real estate that it can find, so it takes up all of this space.
It does not let the second "Professional" <div> element to be on the right hand side; it's actually blocking the entire right hand side.
So that's why it's actually containing all of it's information, and taking up all the horizontal real estate.
So that is the property of a <div> element; not just organizing things in a container, but also taking up all the horizontal real estate.
Now this will become again very powerful and helpful when we get to the CSS section, where we can do advanced layout.
So until then wait along and just think of the <div> element as just a generic container.
The <span> Element
Now a close brother to the div element, is actually the <span> element.
The <span> is also used as a generic container, but the difference is that where the <div> element takes up all the horizontal real estate, the <span> element only takes up the space that it needs.
The <span> element is typically used within a paragraph. Let's say I have a big paragraph over here in the background section.
    <div>
      <h2>Background</h2>
      <p>
        sadjalsdjlkds sadjalsdjlkds
        sadjalsdjlkds sadjalsdjlkds
        sadjalsdjlkds sadjalsdjlkds
        sadjalsdjlkds sadjalsdjlkds

        special text
      </p>
      <p>skdjalsdkjasldj</p>
    </div>
Let's say there is some "special text" over here, and we want to give it some some special attention.
So what are we going to do is we are going to wrap in this particular "special text" inside the <span> element like such:
    <div>
      <h2>Background</h2>
      <p>
        sadjalsdjlkds sadjalsdjlkds
        sadjalsdjlkds sadjalsdjlkds
        sadjalsdjlkds sadjalsdjlkds
        sadjalsdjlkds sadjalsdjlkds
        <span>special text</span>
      </p>
      <p>skdjalsdkjasldj</p>
    </div>
Save, refresh, and you see all of this text is here, but this "special text" is like within the same line, It's actually not taking up all the horizontal space.
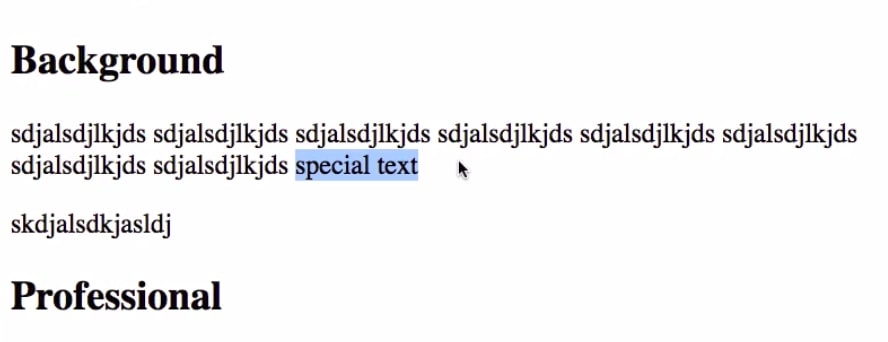
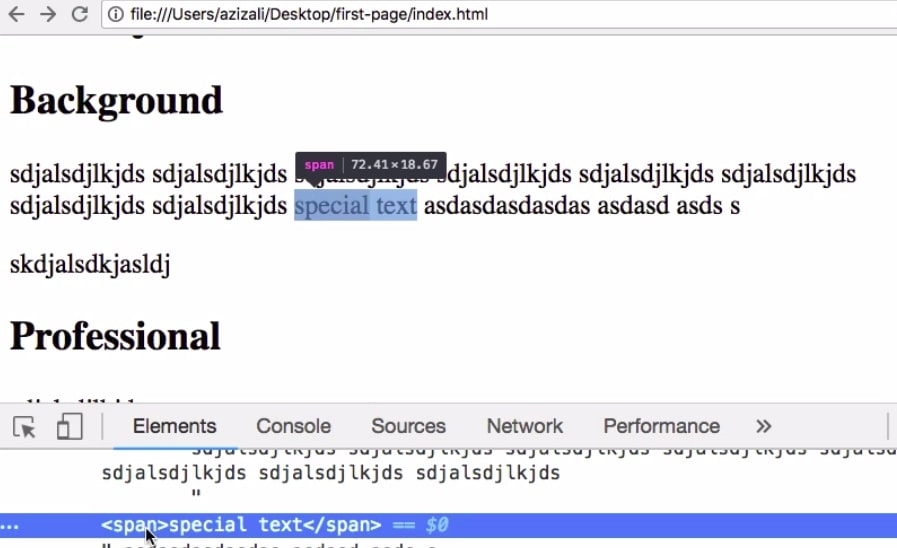
So just to prove the point there can be more text over here, I can just put some more text after it.

And you see the rest of the text is over here, and the "special text" just does not expand it's limits, it only takes up the space it needs.
And just to prove that point, I can right-click and inspect, and you see the <span> element gets highlighted just to show that this element is taking up this much space.
Now the significance of the <span> element will also become very evident to you when we get to the CSS section.
Until then you just know that <div> and <span> elements are generic containers; <div> takes up all the horizontal speed real-estate that it has, and <span> only takes up space inline within the line space that it needs.
Until then, I will talk to you in the next lesson.
Get Started
Already have an account? Please Login
